Coinbase
Coinbase Global, Inc., branded Coinbase, is an American publicly traded company that operates a cryptocurrency exchange platform. Coinbase is a distributed company; all employees operate via remote work. It is the largest cryptocurrency exchange in the United States by trading volume.
In Pixer Laravel we integrate Coinbase Commerce API. Coinbase Commerce does not provide test or sandbox environment, So be careful. It will cost you money even in testing.
Coinbase integrate inside Pixer.
Please follow & complete this steps for Coinbase integration for your e-commerce system.
- Inside
.envfile copy & paste this line of codes. We will discuss later about how to create those API keys in Coinbase.
# Payment -> CoinBaseCOINBASE_API__KEY=SHOP_URL=[YOUR_SHOP_URL]
In Pixer
Laravel HttpClient has been used to implement Coinbase Commerce.Activate Coinbase from Pixer admin dashboard. (e.g. webhook URL is coming from local development. This static link will dynamically generated in live environment)

How to create & setup Coinbase information properly?
Create an account in https://beta.commerce.coinbase.com/signup
Get API key from your dashboard. Copy the API_KEY then set it to
COINBASE_API__KEYenv variable.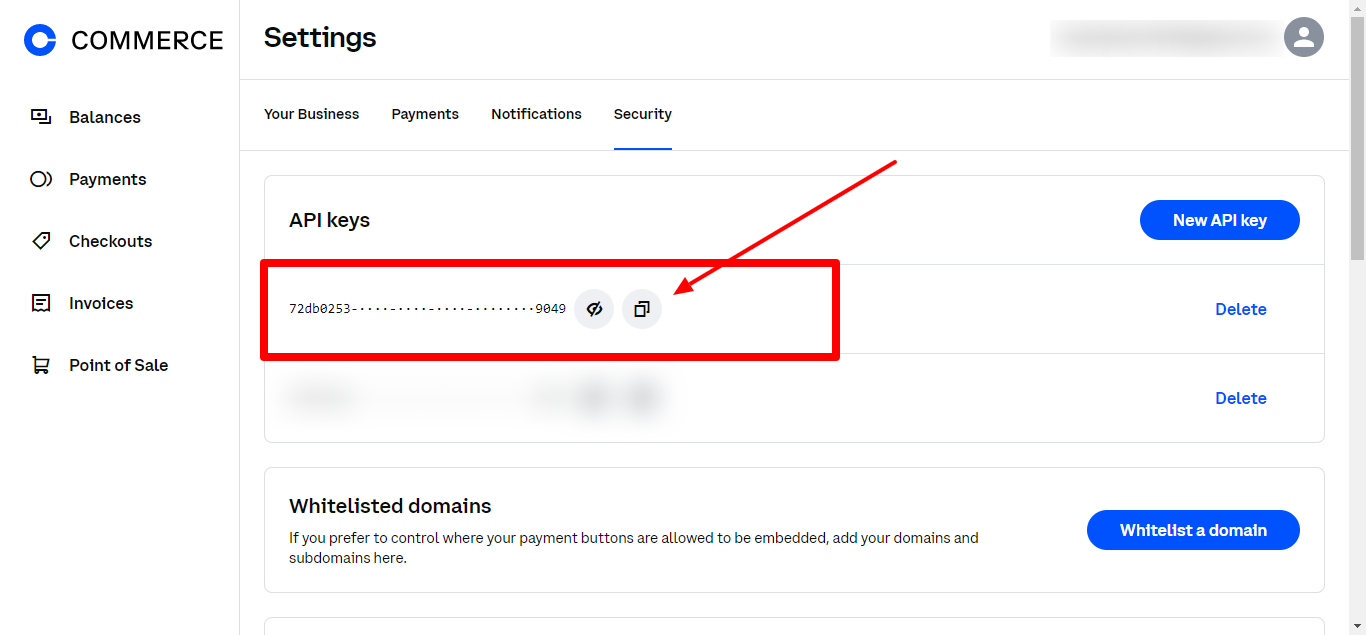
Coinbase Commercedo not provide any kind of test or sandbox environment.
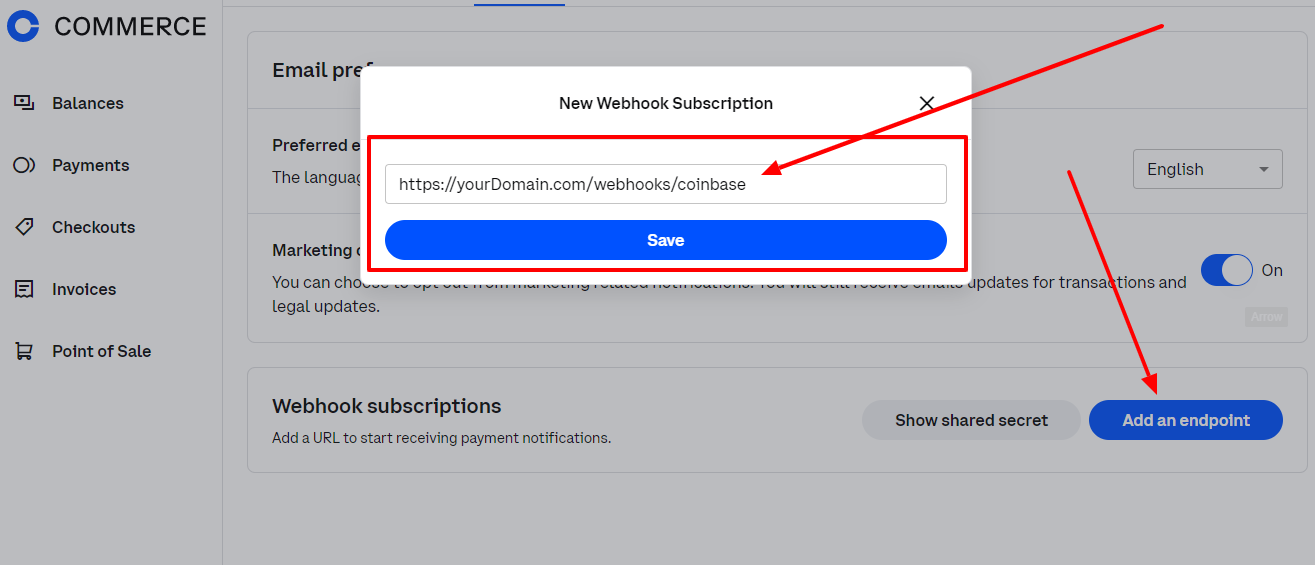
Webhook is most import thing to manage payments status with coinbase setup.
- To Set Webhook notification URL go to coinbase commerce dashboard -> settings -> notification set url
Available Webhooks Status.
- charge:created New charge is created
- charge:confirmed Charge has been confirmed and the associated payment is completed
- charge:failed Charge failed to complete
- charge:delayed Charge received a payment after it had been expired
- charge:pending Charge has been detected but has not been confirmed yet
- charge:resolved Charge has been resolved
At last, For going live with your application please follow this official API Guide https://docs.cloud.coinbase.com/commerce/reference and documentation https://docs.cloud.coinbase.com/commerce/docs/welcome