Introduction
Pixer is a laravel multi api package for ecommerce. This package is for building dynamic ecommerce site using pixer package with rest.
Getting Started
For getting started with the template you have to follow the below procedure. For quick guide you can check below videos for installation.
Installation Windows
Prerequisites
PHP 8.1
Composer
Xamp/Wamp/Lamp for any such application for apache, nginx, mysql
PHP plugins you must need
- simplexml
- PHP's dom extension
- mbstring
- GD Library
Resources you might need
- https://laravel.com/docs/10.x
- https://lighthouse-php.com/5/getting-started/installation.html
- https://github.com/spatie/laravel-medialibrary
- https://github.com/andersao/l5-repository
- https://spatie.be/docs/laravel-permission/v3/introduction
Packages we have used
"laravel/socialite": "5.5.2","laravel/tinker": "2.7.2","messagebird/php-rest-api": "3.1.2","symfony/http-client": "6.0.9","psr/log": "2.0.0","symfony/mailgun-mailer": "6.0.7","twilio/sdk": "6.40.0","srmklive/paypal": "3.0","mll-lab/graphql-php-scalars": "5.4.0","nuwave/lighthouse": "5.57.0","laravel/legacy-factories": "1.3.0","cviebrock/eloquent-sluggable": "9.0.0","laravel/sanctum": "2.15.1","mll-lab/laravel-graphql-playground": "2.6.0","prettus/l5-repository": "2.8.0","spatie/laravel-medialibrary": "10.4.1","spatie/laravel-permission": "5.5.5","php-http/guzzle7-adapter": "1.0.0","bensampo/laravel-enum": "5.3.1","league/flysystem-aws-s3-v3": "3.1.1","spatie/laravel-newsletter": "4.11.0","spatie/period": "2.3.3","kodeine/laravel-meta": "2.1.0","maatwebsite/excel": "3.1.44","niklasravnsborg/laravel-pdf": "4.1.0","cknow/laravel-money": "7.0.0","mollie/laravel-mollie": "2.19.1","razorpay/razorpay": "2.8.4","unicodeveloper/laravel-paystack": "1.0.8","stripe/stripe-php": "8.11.0","stevebauman/purify": "5.1.1",
Installation
Make sure you have run xamp/mamp/wamp/lamp for mysql and php
Create a database in your mysql and put those info in next step
Rename .env.example file to .env and provide necessary credentials. Like database credentials, stripe credentials, s3 credentials(only if you use s3 disk) admin email shop url etc. Specially check for this
envvariablesDB_HOST=localhostDB_DATABASE=pixer_laravelDB_USERNAME=rootDB_PASSWORD=Run
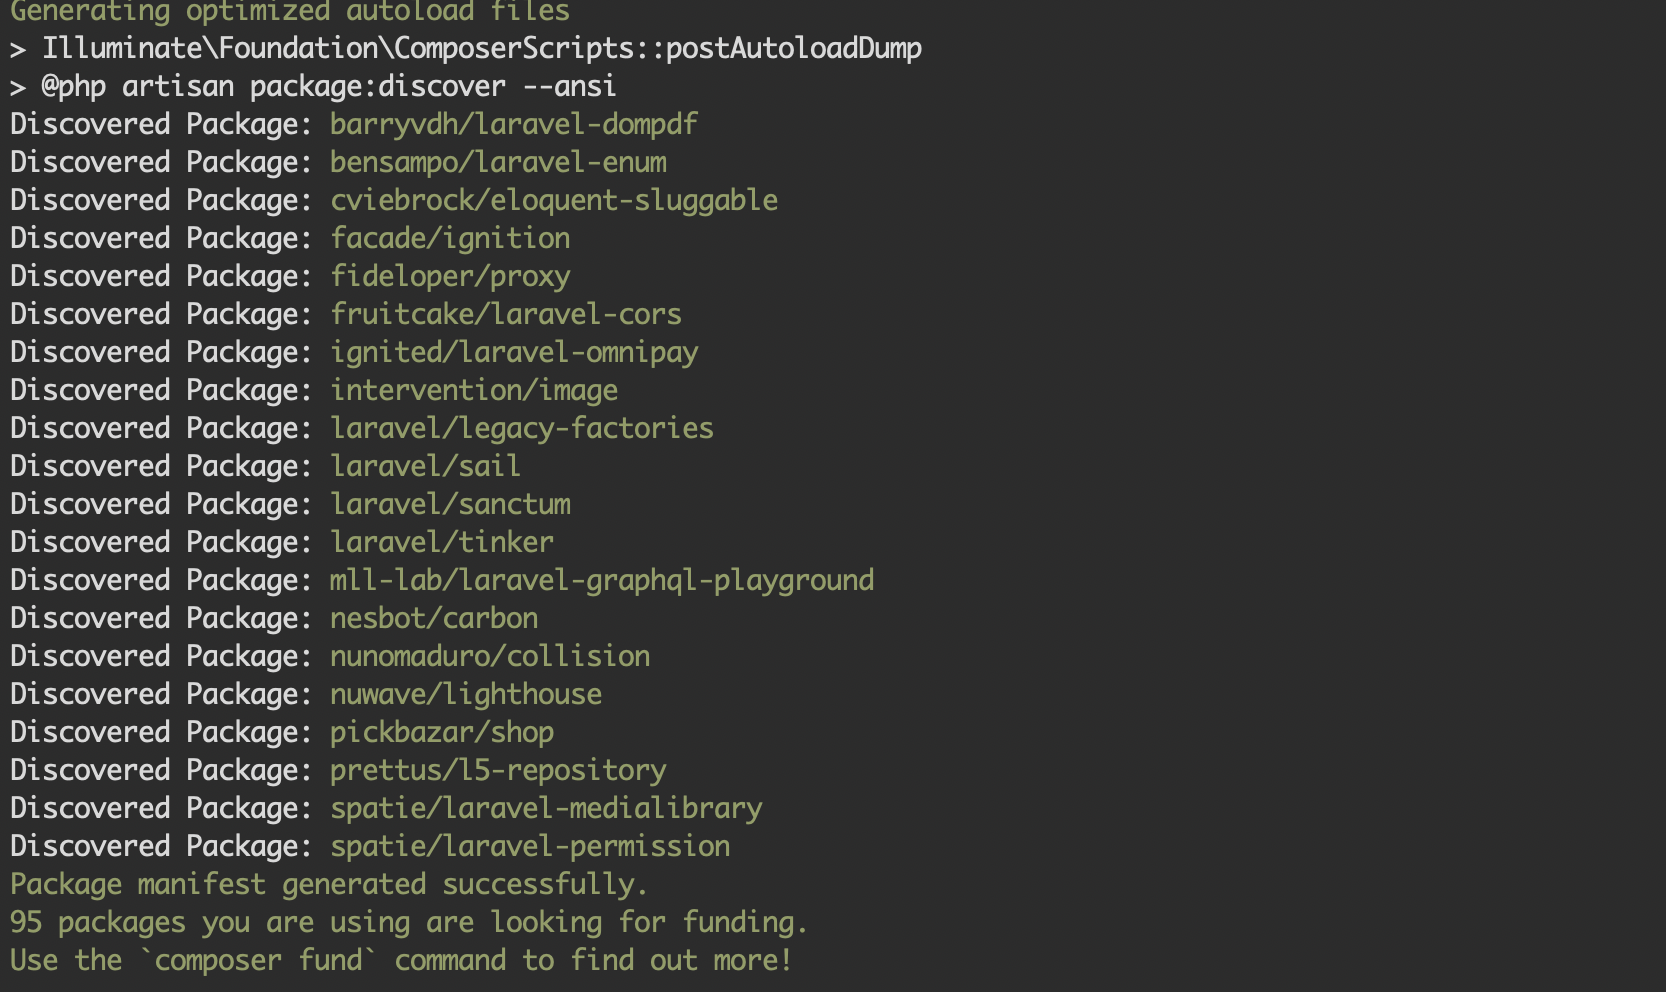
composer install
run
php artisan key:generate
Run
php artisan marvel:installand follow necessary steps.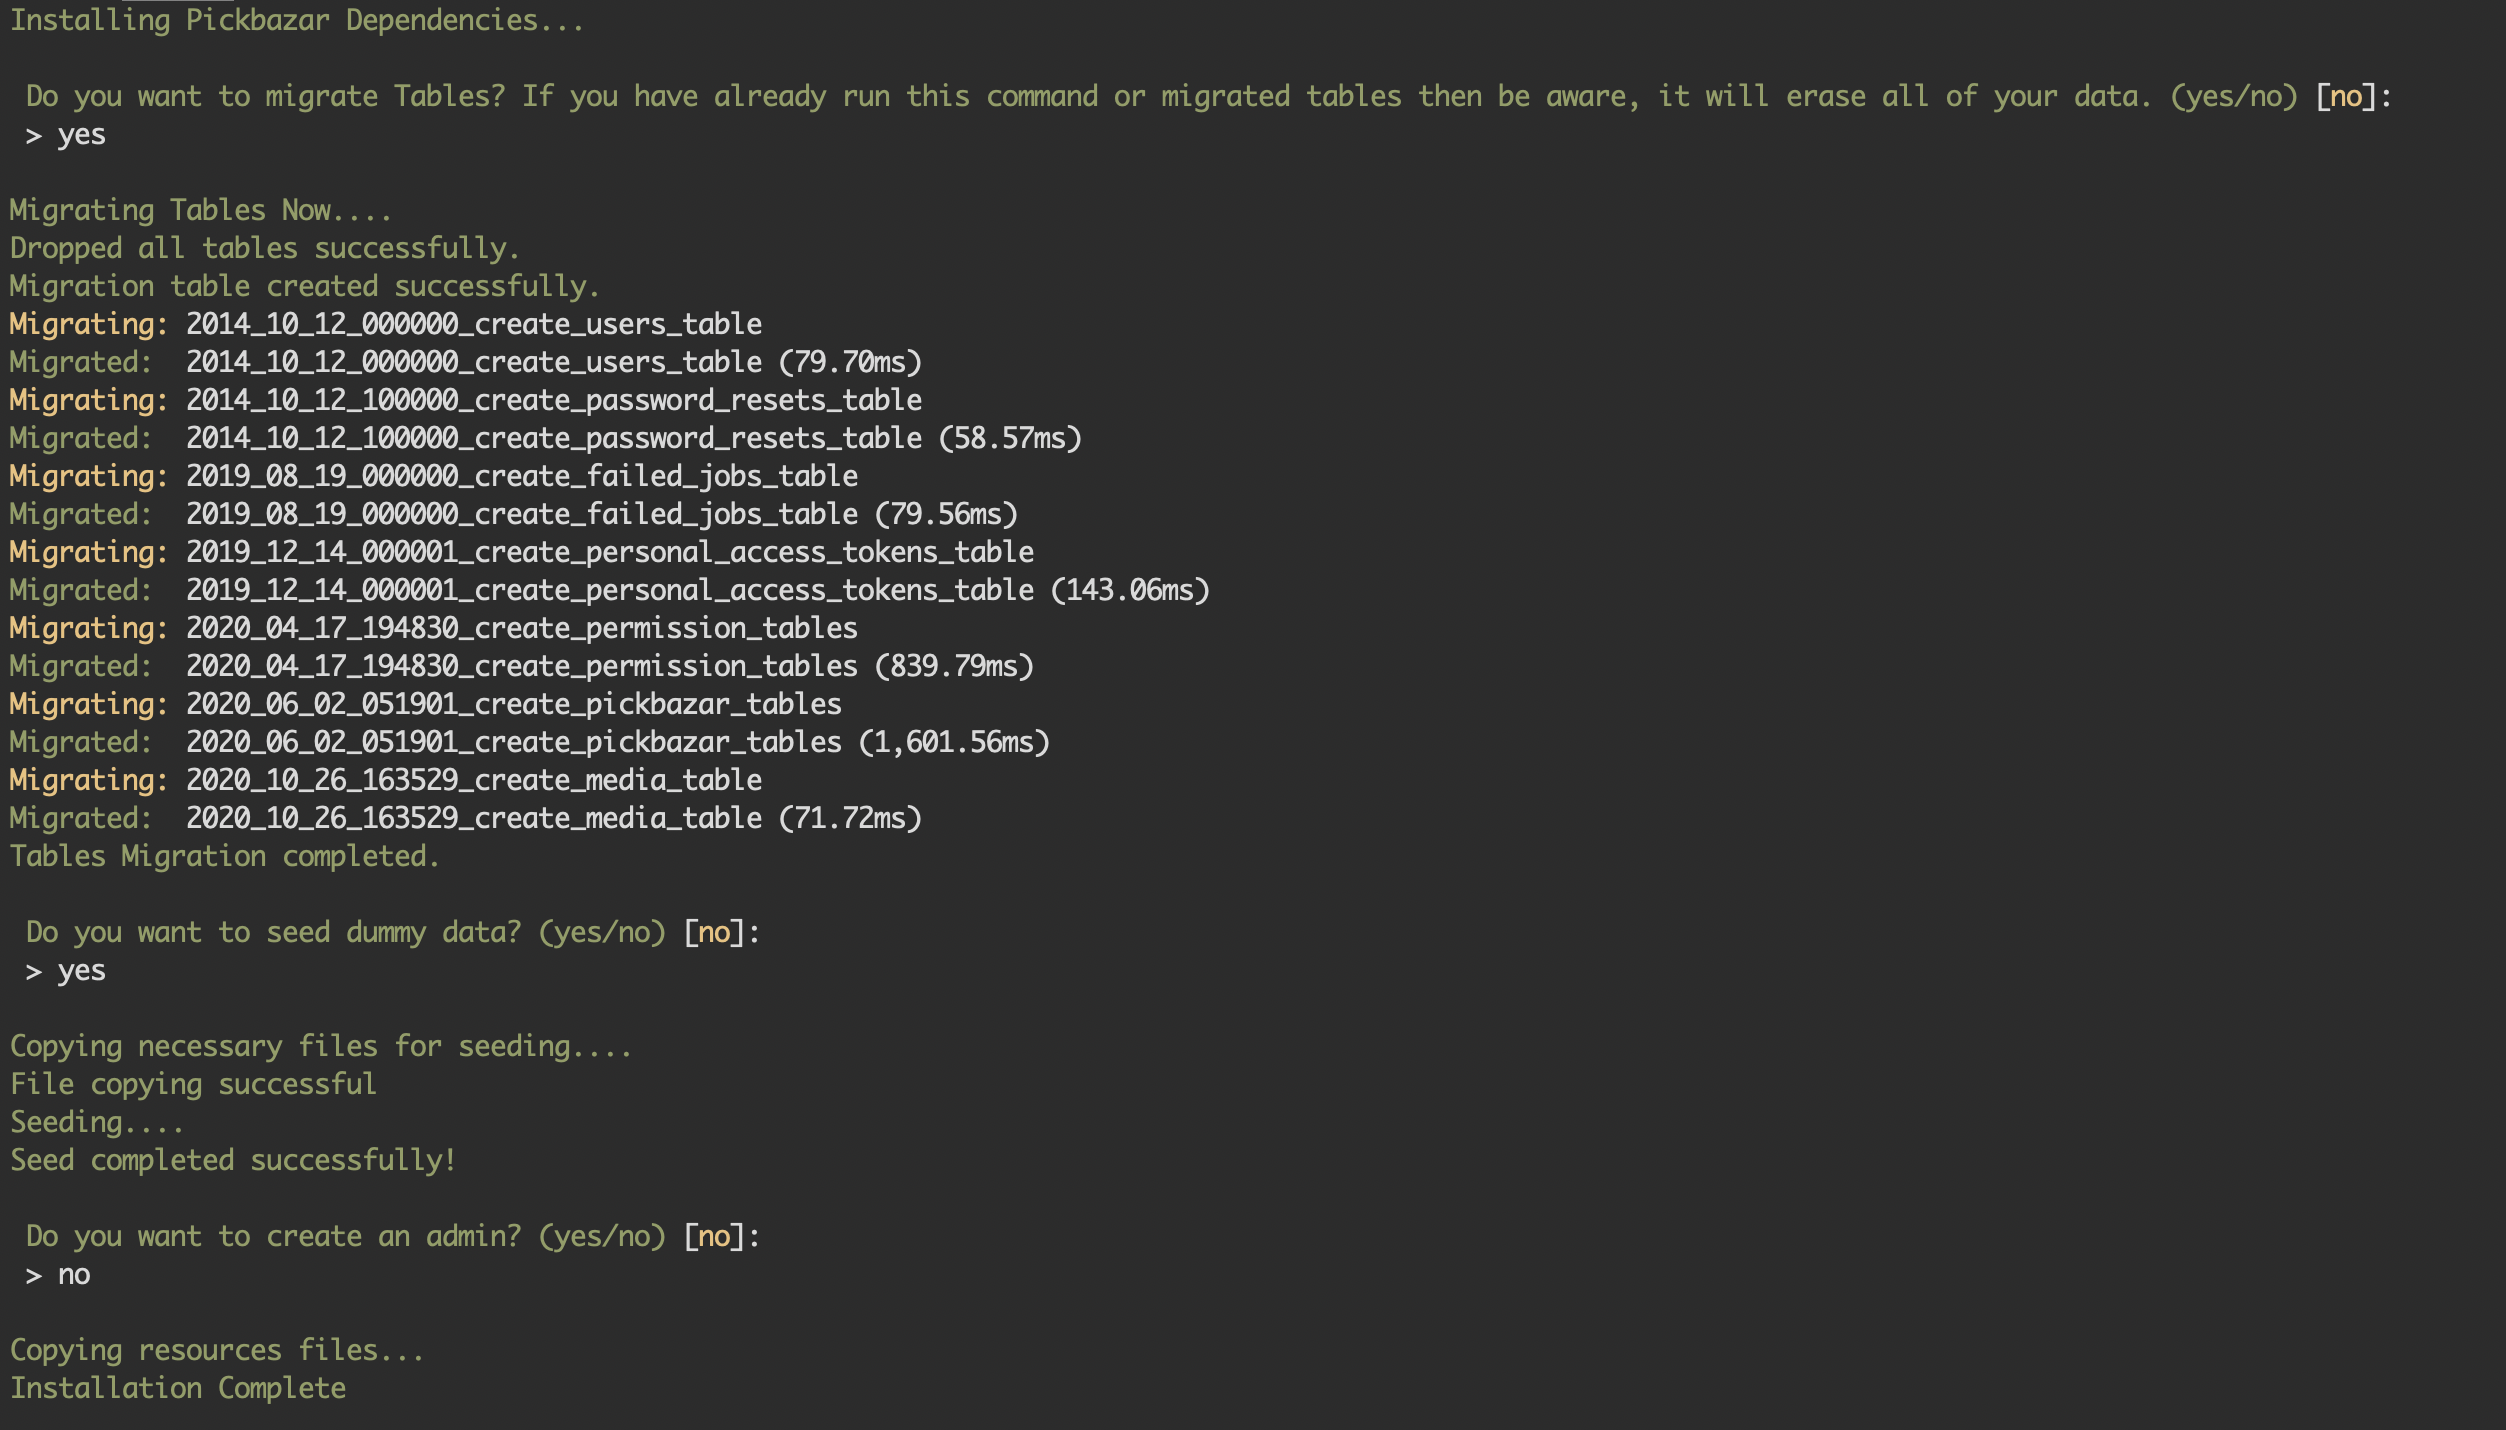
For image upload to work properly you need to run
php artisan storage:link.

run
php artisan serve
NB: You must need to run
php artisan marvel:installto finish the installation. Otherwise your api will not work properly. Run the command and follow the necessary steps.
NB: your frontend
NEXT_PUBLIC_REST_API_ENDPOINTenv value will belocalhost:8000/
For MAC and Linux(with sail and docker)
There is an alternate installation procedure for linux and mac. You can follow below procedure to getting started with sail
Prerequisites
- Docker
Installation Mac
Video
REST API
- Run Docker application first
- Now go to your pixer-laravel root directory and run
bash install.sh. It will guide you through some process. Follow those steps carefully and your app will be up and running - Navigate to
apithensail downto stop the container. If you want to remove the volumes thensail down -v
NB: your frontend
NEXT_PUBLIC_REST_API_ENDPOINTenv value will belocalhost/
Configuration
All the configurations files are in packages/marvel/config folder. You can change any necessary configuration from these files. You can also publishes the shop configuration using artisan vendor:publish --provider="Marvel\ShopServiceProvider" --tag="config" command in your root folder.
- Create .env file from our example.env file and put necessary configuration
- By default s3 is using for media storage but you can also use local folder. Change
MEDIA_DISKIN.envfile as your need. Supported options arepublicand 's3` - Set Payment related configuration to
STRIPE_API_KEY.envvariable - Set
ADMIN_EMAIL,SHOP_URLand necessary Database credentials.
Console Commands
php artisan marvel:installcomplete installation with necessary stepsphp artisan marvel:seedseeding demo dataphp artisan marvel:copy-filescopy necessary filesphp artisan vendor:publish --provider="Marvel\ShopServiceProvider" --tag="config"published the configuration file
All of the above custom command you will find in packages/marvel/src/Console folder.
Development
All the rest routes is resides in packages/marvel/src/Rest/Routes.php file and you can easily navigate to corresponding controller and necessary files.
Endpoints
https://documenter.getpostman.com/view/11693148/UVC5Fo9R
Folder structure
config
The packages/marvel/config folder contains all the config for our app.
database
The packages/marvel/database folder contains all the factories and migrations.
Http:
Contains two folders.
ControllersandRequests. All the necessary controllers and requests are in this two folder.Database:
Contains
ModelsandRepositories. For repositories we have usedl5-repository(https://github.com/andersao/l5-repository).
Enums
All the enums that are used throughout the app is in packages/marvel/src/Enums folder.
Events
All the events are in packages/marvel/src/Events folder.
Listeners
All the listeners corresponding to the above events are in packages/marvel/src/Listeners folder
All the mailables are in packages/marvel/src/Mails folder.
Notifications
Notifications related to order placed is reside packages/marvel/src/Notifications. Currently we have provided mail notification but you can easily add others notification system using laravel conventions.
Providers
All the secondary service providers that we have used in our app resides in packages/marvel/src/Providers folder. The main ShopServiceProviders reside in packages/marvel/src/ folder.
stubs
The packages/marvel/stubs folder contains all the necessary email templates and demo data related resources for the app.
Before Finishing up
Before you finishes the installation process make sure you have completed the below steps.
- Copied necessary files and content to your existing laravel projects(if using existing projects)
- Installed all the necessary dependencies.
- Ran
marvel:installcommands and followed the necessary steps. - Created a .env file with all the necessary env variables in the provided projects.
- Put
DISK_NAMEconfiguration forpublicor 's3` - Set Payment related configuration to
STRIPE_API_KEY
Payment Gateway
We have used omnipay for payment and given stripe and cash_on_delivery default. We have used ignited/laravel-omnipay by forking it in our packages due to some compatibility issue with Laravel 8.
Extending The Functionality
If you want to extend the functionality of the app you can easily do it on your app. You would not need to modify code from our packages folder. Like you can add any routes and corresponding controller in your laravel app as your need. We highly suggest you to do all the modification in your app so you can update the package easily.
Deployment
Its a basic laravel application so you can deploy it as any other laravel application. Make sure you have installed all the php required plugins we mentioned above.